

Japanese era name【Free Pattern】【Behind-the-Scenes Video】【Chart PDF】crochet tutorial
Updated: Apr 17
There’s a behind-the-scenes video showing the process of making this piece.
(Please note: this is not a step-by-step tutorial.)
Scroll down to find the crochet chart!
↓↓↓Here is the PDF file.↓↓↓(You can print it from here)
↑↑↑↑↑↑↑↑↑↑↑↑↑↑↑↑↑↑↑↑



Hello! I'm Kaitlin.
Today, I’m sharing a fun crochet pattern for the Japanese era name “Reiwa”.
In Japan,
it’s tradition for the Chief Cabinet Secretary to hold up a framed signand dramatically unveil the new era name—ta-da!
Inspired by that moment,
I’ve created a special pattern that includes a brown frameand carefully matches the proportions of the original “Reiwa” plaque.
If you adjust your gauge so that your row height is slightly taller than your stitch width,
you can change yarn thickness without affecting the overall proportions!
Materials:
・Yarn: Light fingering weight in white, black, and brown
・2.30mm crochet hook
・Tapestry needle
・Stitch markers or craft clips
・Scissors
・Measuring tape
・Pins for blocking
・Steam iron
Gauge:
30 sts × 32.5 rows = 10 cm × 10cm ( in single crochet)
Size:
Height: approx. 21.5 cmWidth: approx. 17 cmDepth: approx. 1 cm
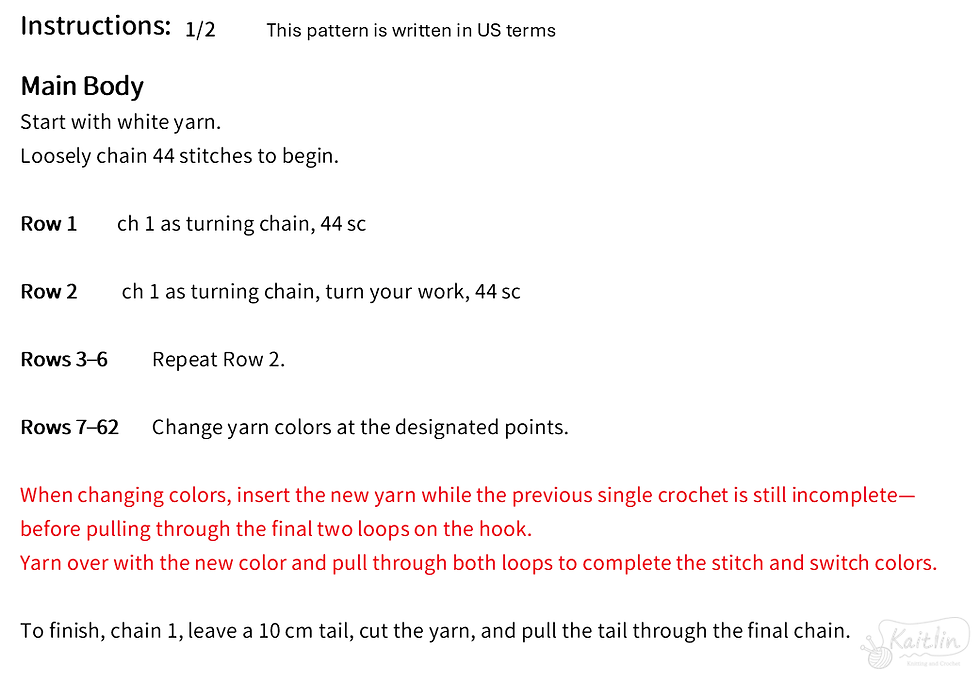
Main Body
Start with white yarn.Loosely chain 44 stitches to begin.
Row 1
ch 1 as turning chain, 44 sc
Row 2
ch 1 as turning chain, turn your work, 44 sc
Rows 3–6
Repeat Row 2.
Rows 7–62
Change yarn colors at the designated points.
When changing colors,
insert the new yarn while the previous single crochet is still incomplete—
before pulling through the final two loops on the hook.
Yarn over with the new color and pull through both loops to complete the stitch and switch colors.
To finish, chain 1, leave a 10 cm tail, cut the yarn,
and pull the tail through the final chain.
Edging
Attach the yarn to the lower right corner of the main body,
and work 6 rows of single crochet in back-and-forth rows to create the edging.
At each corner, crochet 3 single crochets into the same stitch.
In areas where the stitches are visible,
work 1 single crochet into each stitch.
Along the sides (the rows), pick up 57 stitches,
skipping one row at a time as instructed.
After completing 6 rows of single crochet, cut the yarn,
leaving a tail that is about three times the outer edge of the piece.
Thread the yarn tail onto a tapestry needle,
fold the edging toward the front side,
and whipstitch the last row of the edging to the picked-up stitches on the main body.
Use stitch markers or craft clips to hold the fabric in place if needed while sewing.
Weaving in Ends
Weave in all yarn tails on the wrong side of the fabric,
making sure they don’t show on the front.
Steam Blocking
Hold a steam iron above the fabric and apply plenty of steam without touching the fabric.
Gently shape the piece to even out the stitches.
All done—great job!
Here’s a simple way to create your own colorwork designs:
Check your gauge
↓
Draw a grid with the same stitch-to-row ratio (you can use Excel or any office software!)
↓
Design your favorite image or text like pixel art
↓
Start crocheting!!!!!!!
With this method,
you can create all kinds of original crochet designs—so give it a try!
Maybe I should make one for “Heisei” too...
I also share other crochet patterns on this blog,
so feel free to check out my other posts,
YouTube channel, Instagram, and LINE stickers!
Thank you so much for reading to the end! ☻
st(s) = stitch(es)
sl st = slip stitch
ch = chain
sc = single crochet
crochet tutorial