

Reversible Textured Scarf【Free Pattern】【Video】【Chart PDF】Knitting tutorial
- Jul 9, 2025
- 4 min read
Updated: Apr 17
This pattern includes a tutorial video,
and you can scroll down to see the chart!


↓↓↓Here is the PDF file.↓↓↓(You can print it from here)
↑↑↑↑↑↑↑↑↑↑↑↑↑↑↑


Hi, it’s Kaitlin!
Today, I’m going to show you
how to knit a reversible textured scarf using simple knit and purl stitches.
The pattern in the center section only uses knit stitches on the even-numbered rows,
so it’s smoother to knit compared to seed stitch or ribbing.
It’s a 4-row repeat pattern that’s easy to memorize!
For this project, I used “Nuage” yarn by Pierrot Yarns.
This yarn has a firm twist and springy texture,
which makes the stitch pattern stand out beautifully
and gives the scarf a soft, bouncy finish!
Materials:
・6 skeins Nuage col.11 (69m/40g)or other worsted yarn
・4.80mm needles
・5.40mm needles(1 needle for cast-on only)(use a size that suits your tension)
・Tapestry needle
・Makers
・Scissors
・Measuring tape
・Steam iron
・Blocking pins
Gauge:
23sts × 33rows = 10 cm × 10cm in pattern stitch
Sizes:
Width: approx. 20 cm
Length: approx. 160 cm
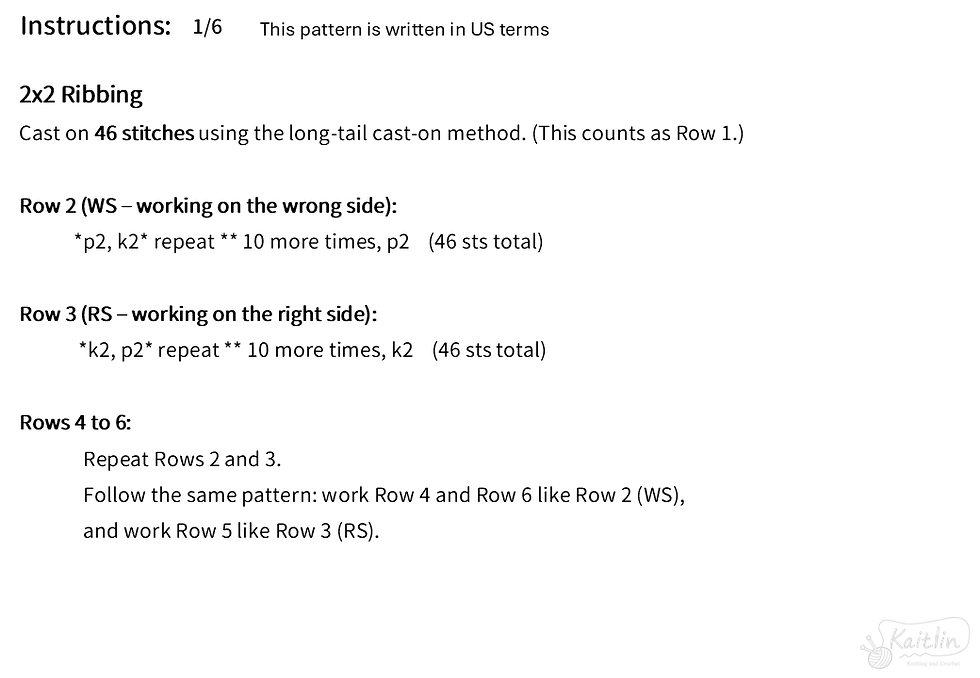
2x2 Ribbing
Cast on 46 stitches using the long-tail cast-on method. (This counts as Row 1.)
Row 2 (WS – working on the wrong side):
*p2, k2* repeat ** 10 more times, p2 (46 sts total)
Row 3 (RS – working on the right side):
*k2, p2* repeat ** 10 more times, k2 (46 sts total)
Rows 4 to 6:
Repeat Rows 2 and 3.
Follow the same pattern: work Row 4 and Row 6 like Row 2 (WS),
and work Row 5 like Row 3 (RS).
Pattern Stitch
After completing 6 rows of 2x2 ribbing, continue directly into the pattern stitch.
Pattern – Row 1 (RS):
p6, PM, *p1, k1* repeat ** 15 more times,
p2tog, PM, p6 (45 sts total)
Pattern – Row 2 (WS):
k45 (slipping the markers as you come to them.) (45 sts total)
Pattern – Row 3 (RS):
k6, SM, *p1, k1* repeat ** 15 more times, p1, SM, k6 (45 sts total)
Pattern – Row 4 (WS):
p6, SM, k33, SM, p6 (45 stitches total)
Pattern – Row 5
p6, SM, *p1, k1* repeat ** 15 more times, p1, SM, p6 (45 sts total)
Pattern – Row 6
k45 (slipping the markers as you come to them.) (45 sts total)
Pattern – Row 7
k6, SM, *p1, k1* repeat ** 15 more times, p1, SM, k6 (45 sts total)
Pattern – Row 8
p6, SM, k33, SM, p6 (45 sts total)
Pattern – Rows 9–496
repeat rows 5–8 a total of 122 times.
Pattern – Rows 497 and 498
repeat rows 5 and 6 once more to finish the pattern.
2x2 Ribbing (Top Edge)
After completing 498 rows of the pattern stitch, continue directly into 2x2 ribbing.
Ribbing – Row 1 (RS):
*k2, p2* repeat ** 8 more times, k2, LLPI, k2, p2, k2 (46 sts total)
Ribbing – Row 2 (WS):
*p2, k2* repeat ** 10 more times, p2 (46 sts total)
Ribbing – Row 3 (RS):
*k2, p2* repeat ** 10 more times, k2 (46 sts total)
Ribbing – Rows 4 to 6:
Repeat Rows 2 and 3 as follows:
Work Row 4 and Row 6 the same as Row 2
Work Row 5 the same as Row 3
After completing the final row, bind off in pattern.Be sure to knit or purl each stitch as it appears while binding off to match the ribbing. (Video 14:28)
Changing Yarn
When your yarn gets short,
switch to a new ball at the edge of the fabric.
Leave a tail of about 15 cm (6 inches) of the new yarn,
and start knitting with it.
Leave both yarn tails hanging at the edge
until you're ready to weave them in later.
Weaving in Ends
For the yarn tail at the cast-on edge,
weave it vertically along the side of the fabric.
Thread the tail onto a tapestry needle,
and weave it through the fabric in a way
that doesn't show on the right side.
Go one stitch backward and pass the needle through again to secure the tail.
Do the same for the yarn tail at the bind-off edge.
Tip: For a neater finish, weave the needle through the inside of the fabric, keeping it hidden from both the right and wrong sides.
Weaving in ends where yarn was changed
If you changed yarn mid-project,
weave in the old yarn downward,
and the new yarn upward.
Cross the two yarn tails once before threading them onto the needle.
Then, weave in each end separately using the same method as above,
making sure the stitches remain invisible on the front and back.
Steam Blocking
Finish the piece by steam blocking with pins. (Video 18:49)
Use pins to stretch the sides of the fabric
until the width measures approximately 20 cm.
Start by pinning the four corners of the piece.(Video 18:56)
Next, add pins halfway between those points,
and then again between each set of pins to evenly distribute the tension.
Once all pins are in place,
hover a steam iron over the fabric (do not touch it directly)
and apply plenty of steam to relax and shape the stitches.
Let the piece sit undisturbed until completely cool.
Repeat this steaming process a few times as needed,
making sure the entire piece is evenly blocked.
All done! Great job!
Nuage is such a springy, easy-to-work-with yarn,
and the finished piece turns out wonderfully soft and squishy.
As expected from extra fine merino,
the texture is incredibly smooth against the skin—
perfect for keeping warm during the colder seasons!
I’ve shared other knitting patterns as well,
so feel free to check out my other blog posts,
YouTube channel, Instagram, and LINE stickers too!
Thanks so much for reading all the way to the end! ☻
k = knit
p = purl
p2tog = purl 2 stitches together
LLPI = left lifted purl increase
st(s) = stitch(es)
prev = previous
RS = right side
WS = wrong side
PM = place marker
SP = slip marker
knitting tutorial